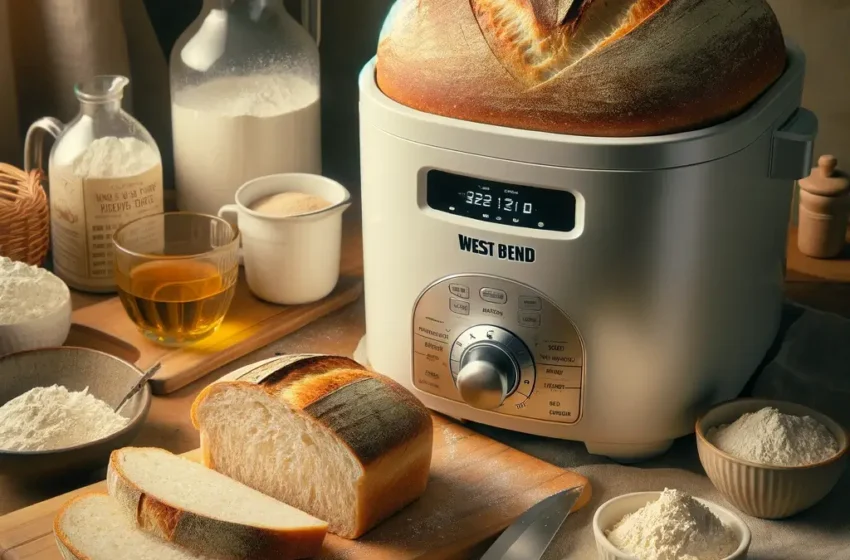
Delicious West Bend Bread Maker Recipe: A Step-by-Step Guide
If you’re a fan of freshly baked bread, the West Bend Bread Maker is your gateway to a world of delicious, homemade breads that are easy to make and even easier to devour. Having personally tried and tested a variety of bread recipes, I’ve found one that stands out for its simplicity, flavor, and foolproof results. In this guide, I’ll walk you through the process of creating a delectable loaf of bread using the West Bend Bread Maker, ensuring you can replicate this culinary delight in the comfort of your own home.
What is the West Bend Bread Maker?
Before diving into the recipe, let’s briefly discuss what makes the West Bend Bread Maker a must-have kitchen appliance. This compact, user-friendly device automates the bread-making process, combining ingredients, kneading dough, and baking it to perfection—all with minimal input from the user. Its programmable settings accommodate a variety of bread types, from classic white to whole wheat, and even specialty breads, making it a versatile tool for any home baker.
Overview Of How To Make West Bend Bread Maker Recipe
- Preparation Time
10 minutes - Cooking Time
3 hours - Serves
This recipe yields 1 loaf, serving about 10-12 slices. - Difficulty
Easy
Ingredients
- 1 cup of warm water (110°F/45°C)
- 2 tablespoons of white sugar
- 2 ¼ teaspoons of bread machine yeast
- ¼ cup of vegetable oil
- 3 cups of bread flour
- 1 teaspoon of salt
Equipment:
- West Bend Bread Maker
- Measuring cups and spoons
- A spatula (for removing the bread)
Instructions
Step 1: Prepare the Bread Maker
Plug in your West Bend Bread Maker and remove the bread pan. Ensure the kneading paddle is securely attached.
Step 2: Add Ingredients
Start by adding the warm water to the bread pan. Next, sprinkle the sugar and then the yeast over the water and allow it to sit for about 10 minutes until the yeast is frothy. This indicates that the yeast is active and ready to help your bread rise. After the yeast has activated, add the oil, followed by the flour, ensuring it covers the liquid. Lastly, sprinkle the salt on top of the flour.
Step 3: Select the Bread Type
Place the bread pan back into the bread maker. Close the lid and select the setting for the type of bread you’re making. For this recipe, choose the basic or white bread setting. Then, choose the crust color preference if your machine has this feature.
Step 4: Start the Bread Maker
Press the start button and let the West Bend Bread Maker do its magic. The machine will first mix the ingredients, then knead the dough, let it rise, and finally bake it to perfection.
Step 5: Remove and Cool
Once the baking cycle is complete, carefully remove the bread pan from the machine using oven mitts. Turn out the bread onto a wire rack and let it cool before slicing. This prevents the bread from becoming soggy.
Pro Tips For West Bend Bread Maker Recipe
- Check the Dough’s Consistency: After the first few minutes of kneading, open the lid and check the dough. It should form a smooth, round ball. If it’s too dry, add a teaspoon of water. If too wet, add a tablespoon of flour.
- Room Temperature Ingredients: For best results, ensure your ingredients, especially the water, are at room temperature unless specified otherwise.
Why You Will Love West Bend Bread Maker Recipe
This West Bend Bread Maker recipe is a game-changer for several reasons:
- Convenience: The bread maker does all the heavy lifting, from mixing to baking.
- Customizable: You can experiment with different types of flour or add-ins like nuts and seeds.
- Delicious: There’s nothing like the taste of fresh, warm bread right out of the bread maker.
How to Enjoy Your Homemade Bread
This bread is incredibly versatile. Enjoy it sliced with butter or jam for breakfast, use it to make sandwiches, or simply tear off a chunk to dip in your favorite soup or stew.
Conclusion
This West Bend Bread Maker recipe is a simple, foolproof way to enjoy fresh, homemade bread. Its ease of use and delicious results make it a favorite among both novice and experienced bakers. If you try this recipe and love it, be sure to share it with your friends and family!
FAQs on West Bend Bread Maker Recipe
1. Can I use any type of flour in my West Bend Bread Maker?
Yes, but the results may vary. All-purpose flour is a common choice, but you can also use bread flour for a higher rise or whole wheat flour for a denser loaf. Adjustments to liquid may be needed.
2. Do I need to proof the yeast before adding it?
No, if you’re using instant yeast. However, if you’re unsure about the freshness of your active dry yeast, proofing it in warm water with a little sugar can ensure it’s alive.
3. Can I add ingredients like nuts or fruits to my bread?
Yes, add them when the bread maker signals for add-ins, usually after the first knead or at the start if your model has a fruit and nut dispenser.
4. Why did my bread collapse?
This can happen if there’s too much yeast, sugar, or liquid. Ensure accurate measurements and adjust based on your machine’s instructions.
5. Why is my bread too dense?
This might occur if there’s not enough yeast or the flour-to-liquid ratio is too high. Check your measurements and ensure your yeast is fresh.
6. Can I make gluten-free bread in my West Bend Bread Maker?
Yes, use a gluten-free bread recipe and ensure the setting on your bread maker is suitable for gluten-free baking, if available.
7. How can I get a crustier loaf?
Use the crust color setting on your bread maker to achieve a darker crust. Removing the bread to bake in the oven during the last few minutes can also enhance crustiness.
8. Can I make dough for pizza or rolls with my bread maker?
Yes, select the “Dough” setting to prepare the dough without baking it. Once the cycle completes, you can shape and bake your dough as desired.
9. Why is my bread not rising?
Common reasons include expired yeast, incorrect liquid temperature, or too much salt inhibiting yeast activity. Double-check your ingredients and their freshness.
10. Can I use dairy milk instead of water?
Yes, milk can enrich the flavor and texture of the bread but might alter the rising time slightly. Use it at the same temperature you would water.
11. What size loaf can I make in my West Bend Bread Maker?
It depends on your model. Most can make 1, 1.5, and 2-pound loaves. Refer to your user manual for specific capabilities.
12. Can I use sweeteners other than sugar?
Yes, honey, maple syrup, and agave nectar are good alternatives but might require slight adjustments to the recipe.
13. What’s the best way to store homemade bread?
Wrap cooled bread in foil or plastic wrap and store at room temperature for up to 3 days. Avoid refrigerating, as it dries out the bread.
14. Can I make sourdough bread in my bread maker?
Yes, but you’ll need to adjust the recipe for the machine. Use the dough cycle for the initial mix and first rise, then shape and allow for a second rise before baking.
15. How do I clean my West Bend Bread Maker?
Always unplug the unit and let it cool down. Clean the baking pan and kneading blade with warm soapy water. Wipe the inside and outside of the machine with a damp cloth.
16. Can I pause the baking cycle to check on the bread?
It’s not recommended as opening the lid can cause heat loss and affect the rise. Use the viewing window if your model has one.
17. Why does my bread have a floury top?
This may occur if the ingredients weren’t mixed thoroughly. Make sure to add ingredients in the order recommended by the manufacturer.
18. Can I make low-sodium bread in my West Bend Bread Maker?
Yes, simply reduce the salt in your recipe or use a salt substitute. Keep in mind this may slightly affect the yeast activity and taste.
19. How can I make my bread softer?
Increase the amount of fat (like oil or butter) slightly, or add a tablespoon of potato flour or powdered milk to the recipe.
20. Can I use oil instead of butter in recipes?
Yes, oil can be a direct substitute for butter and may even keep the bread softer after baking.
21. Why is my bread top getting too dark?
Adjust the crust setting to a lighter option or tent the bread with aluminum foil towards the end of the baking cycle.
22. Can I leave the bread in the machine after baking?
It’s best to remove it to prevent condensation from making the crust soggy. Let it cool on a wire rack instead.
23. How do I ensure even ingredients distribution in my bread?
Use a spatula to scrape down the sides of the pan during the initial mixing stage if the machine does not incorporate all ingredients.
24. Can I bake a cake in my West Bend Bread Maker?
Yes, many bread makers have a “Bake” or “Cake” setting specifically for baking cakes.
25. What if my bread maker stops mid-cycle?
Check the power connection first. Some models have a memory function to continue baking after a short power outage.
26. Can I open the lid during kneading to add more flour or water?
Yes, but do it quickly to avoid losing too much heat. Only add small amounts at a time.
27. Why is the kneading blade stuck in the bread?
This can happen with some recipes. Coat the blade lightly with oil before adding ingredients to help prevent sticking.
28. Can I make vegan bread in my West Bend Bread Maker?
Absolutely, there are many vegan bread recipes suitable for bread makers. Simply substitute animal products with plant-based alternatives.
29. How can I prevent the bottom of my bread from burning?
Ensure you’re using the correct size and recipe for your machine. If the issue persists, check if the heating element is working properly.
30. Can I manually adjust the baking time?
Some models allow for custom settings. Refer to your user manual to see if this feature is available and how to use it.
Sources :-


