Ultimate Guide to Homemade Jimmy John’s Bread Recipe
As a food reviewer who’s had their fair share of sandwiches, I can confidently say there’s something undeniably special about Jimmy John’s bread. It’s soft yet sturdy, with a light crust that’s not too tough, making it the perfect vessel for any sandwich. Today, I’m thrilled to share with you a step-by-step guide to recreating the iconic Jimmy John’s bread at home. Whether you’re a sandwich enthusiast or just love baking, this recipe is sure to impress.
What is Jimmy John’s Bread?
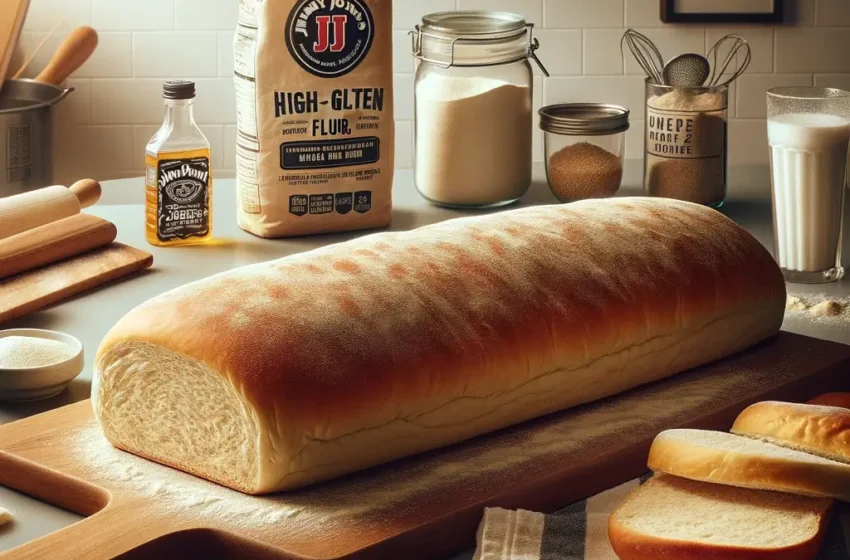
Jimmy John’s bread is a type of French baguette known for its soft interior and slightly crispy crust. It’s a fundamental component of their beloved sandwiches, contributing to their popularity across the United States. The bread is freshly baked throughout the day in Jimmy John’s restaurants, ensuring quality and flavor. Our homemade version aims to capture that same freshness and taste, right from your kitchen.
Overview Of How To Make Jimmy John’s Bread Recipe
- Preparation Time
About 1 hour 45 minutes (including rising times) - Cooking Time
20 to 25 minutes - Serves
4 to 6 people - Difficulty
Intermediate
Ingredients
- 2 teaspoons active dry yeast
- 1 1/4 cups warm water (110°F to 115°F)
- 1 tablespoon sugar
- 2 teaspoons salt
- 1 tablespoon vegetable oil
- 3 1/2 to 4 cups all-purpose flour
Instructions
Step 1: Activate the Yeast
In a large mixing bowl, dissolve the sugar in warm water. Sprinkle the yeast over the surface and let it sit for about 10 minutes, or until it’s frothy. This step is crucial for ensuring your bread rises properly.
Step 2: Mix the Dough
Add salt, vegetable oil, and half of the flour to the yeast mixture. Stir well until the ingredients are evenly combined. Gradually add the remaining flour, mixing until a soft dough forms.
Step 3: Knead the Dough
Turn the dough onto a floured surface and knead for about 8 to 10 minutes, or until it’s smooth and elastic. This process helps develop the gluten, which gives the bread its structure.
Step 4: Let It Rise
Place the dough in a greased bowl, turning once to grease the top. Cover with a clean towel and let it rise in a warm place for about 1 hour, or until it doubles in size.
Step 5: Shape and Bake
Punch down the dough and turn it onto a lightly floured surface. Divide it into portions (depending on how large you want your loaves) and shape each into a long, thin loaf. Place the loaves on a baking sheet lined with parchment paper. Make shallow diagonal slashes on the surface with a sharp knife. Let the loaves rise for about 30 minutes, or until puffy.
Preheat your oven to 375°F (190°C). Bake the bread for 20 to 25 minutes, or until golden brown. Let it cool on a wire rack.
Pro Tips For Jimmy John’s Bread Recipe
- Ensure your water is at the right temperature to activate the yeast effectively without killing it.
- Don’t rush the rising process. Patience is key to achieving the perfect texture.
- Slash the dough just before baking to help steam escape and to create that artisan look.
Why You’ll Love Jimmy John’s Bread Recipe
This homemade Jimmy John’s bread recipe brings the unique taste and texture of their iconic sandwiches into your kitchen. It’s versatile, perfect for any type of sandwich, or delicious on its own. The process is simpler than you might think, making it a great project for bakers of all levels.
How to Eat Jimmy John’s Bread
Slice the bread lengthwise and layer with your favorite meats, cheeses, and veggies. Or, enjoy it as a side to your favorite pasta dish, soup, or salad. The possibilities are endless!
Conclusion
Making Jimmy John’s bread at home is a satisfying experience that rewards you with fresh, delicious bread perfect for sandwiches or enjoying by itself. This recipe is a fantastic way to bring a piece of the Jimmy John’s experience into your home. If you love this recipe, don’t forget to share it with friends and family!
You can also read :-4 Most Famous Brian Lagerstrom Recipes
FAQs on Jimmy John’s Bread Recipe
1. What type of yeast is best for this recipe?
Answer: Active dry yeast is recommended for its reliability and ease of use.
2. Can I use instant yeast instead of active dry yeast?
Answer: Yes, you can use instant yeast in equal amounts. No need to activate it in warm water first.
3. How warm should the water be to activate the yeast?
Answer: The water should be between 110°F to 115°F (43°C to 46°C).
4. Can I make this bread with whole wheat flour?
Answer: Yes, but for best results, use a mix of whole wheat and all-purpose flour as whole wheat alone can make the bread denser.
5. How do I know if my yeast has activated?
Answer: The yeast mixture should become frothy and bubbly after about 10 minutes.
6. Why is my dough not rising?
Answer: This could be due to expired yeast, incorrect water temperature, or a drafty rising environment.
7. Can I knead the dough using a stand mixer?
Answer: Yes, use a dough hook attachment and knead on a low setting for about 5 to 7 minutes.
8. How can I tell if I’ve kneaded the dough enough?
Answer: The dough should be smooth and elastic. A good test is the windowpane test, where a small piece of dough stretches thin enough to let light pass through without tearing.
9. Can I let the dough rise overnight?
Answer: Yes, for a slower rise, place it in the refrigerator. Let it come to room temperature before shaping.
10. What size should I shape my loaves?
Answer: Shape your loaves to about 12 inches long for a typical Jimmy John’s sandwich size.
11. Why do I need to slash the dough before baking?
Answer: Slashing allows the dough to expand during baking and helps prevent cracking.
12. How deep should the slashes be?
Answer: About ¼ inch deep.
13. Can I bake this bread in a loaf pan?
Answer: This recipe is best as a baguette or free-form loaf, as that’s closer to Jimmy John’s style.
14. What should I do if the dough is too sticky?
Answer: Add flour a tablespoon at a time until it’s manageable but still soft.
15. How do I achieve a crispy crust?
Answer: You can brush the loaves with water before baking or place a pan of water on the bottom rack of your oven during baking.
16. Can I use this bread for other types of sandwiches?
Answer: Absolutely! This bread is versatile and goes well with any sandwich fillings.
17. How do I store leftover bread?
Answer: Wrap it tightly in plastic wrap and store at room temperature for up to 2 days.
18. Can I freeze this bread?
Answer: Yes, wrap it securely in plastic and then foil. It can be frozen for up to 3 months.
19. How do I revive day-old bread?
Answer: Briefly moisten the crust with water and warm it in a 350°F oven for about 10 minutes.
20. My bread is too dense. What went wrong?
Answer: It could be over-kneading, not enough rising time, or using old yeast.
21. Can I add herbs or garlic to the dough?
Answer: Yes, feel free to add herbs or garlic powder to the dough for a flavored bread.
22. Why does my bread have a hard crust?
Answer: A hard crust can result from too long in the oven or not enough moisture during baking.
23. Can I half the recipe?
Answer: Yes, you can easily half all the ingredients for a smaller batch.
24. How long does it take to knead the dough by hand?
Answer: Typically, about 8 to 10 minutes.
25. Can I use bread flour instead of all-purpose flour?
Answer: Yes, bread flour will give your bread a slightly chewier texture.
26. Why is my crust not browning?
Answer: This can happen if the oven isn’t hot enough or the bread is underbaked.
27. Can I make this bread without a stand mixer?
Answer: Absolutely, you can mix and knead the dough entirely by hand.
28. How should I slice Jimmy John’s bread for sandwiches?
Answer: Slice it lengthwise, not too thick, to create the perfect sandwich base.
29. Can I double this recipe?
Answer: Yes, just make sure you have a large enough mixing bowl and space to knead.
30. What’s the best way to measure flour for this recipe?
Answer: For accuracy, spoon the flour into a measuring cup and level it off with a knife.